

We explain in this article, how to make a touch-up. An important phase to know how to do it yourself to avoid many surprises.
Rest assured, it is quite normal to notice less fixation at the front edge after several weeks, especially if you are a great athlete or tend to sweat quite easily. Perspiration will then melt the hair glue of your prosthesis. Nothing too bad, don't worry. Knowing how to perform a touch-up can be a considerable advantage, especially if you are on vacation and therefore cannot go to your hair technician or if he simply cannot see you due to a full schedule. .
The touch-up will extend and optimize your fixation until your next interview. To do this, nothing simpler ! We explain everything below.
Step 1
This first step consists of first brushing your hair backwards so that none of them get lodged in the hair resin. Then gently lift the front edge of your prosthesis 3 to 5 centimeters back, then secure the hair from your front edge to the rest of your hair using clips. Thus it will be completely maintained and you will then be able to carry out your editing more easily.

2nd step
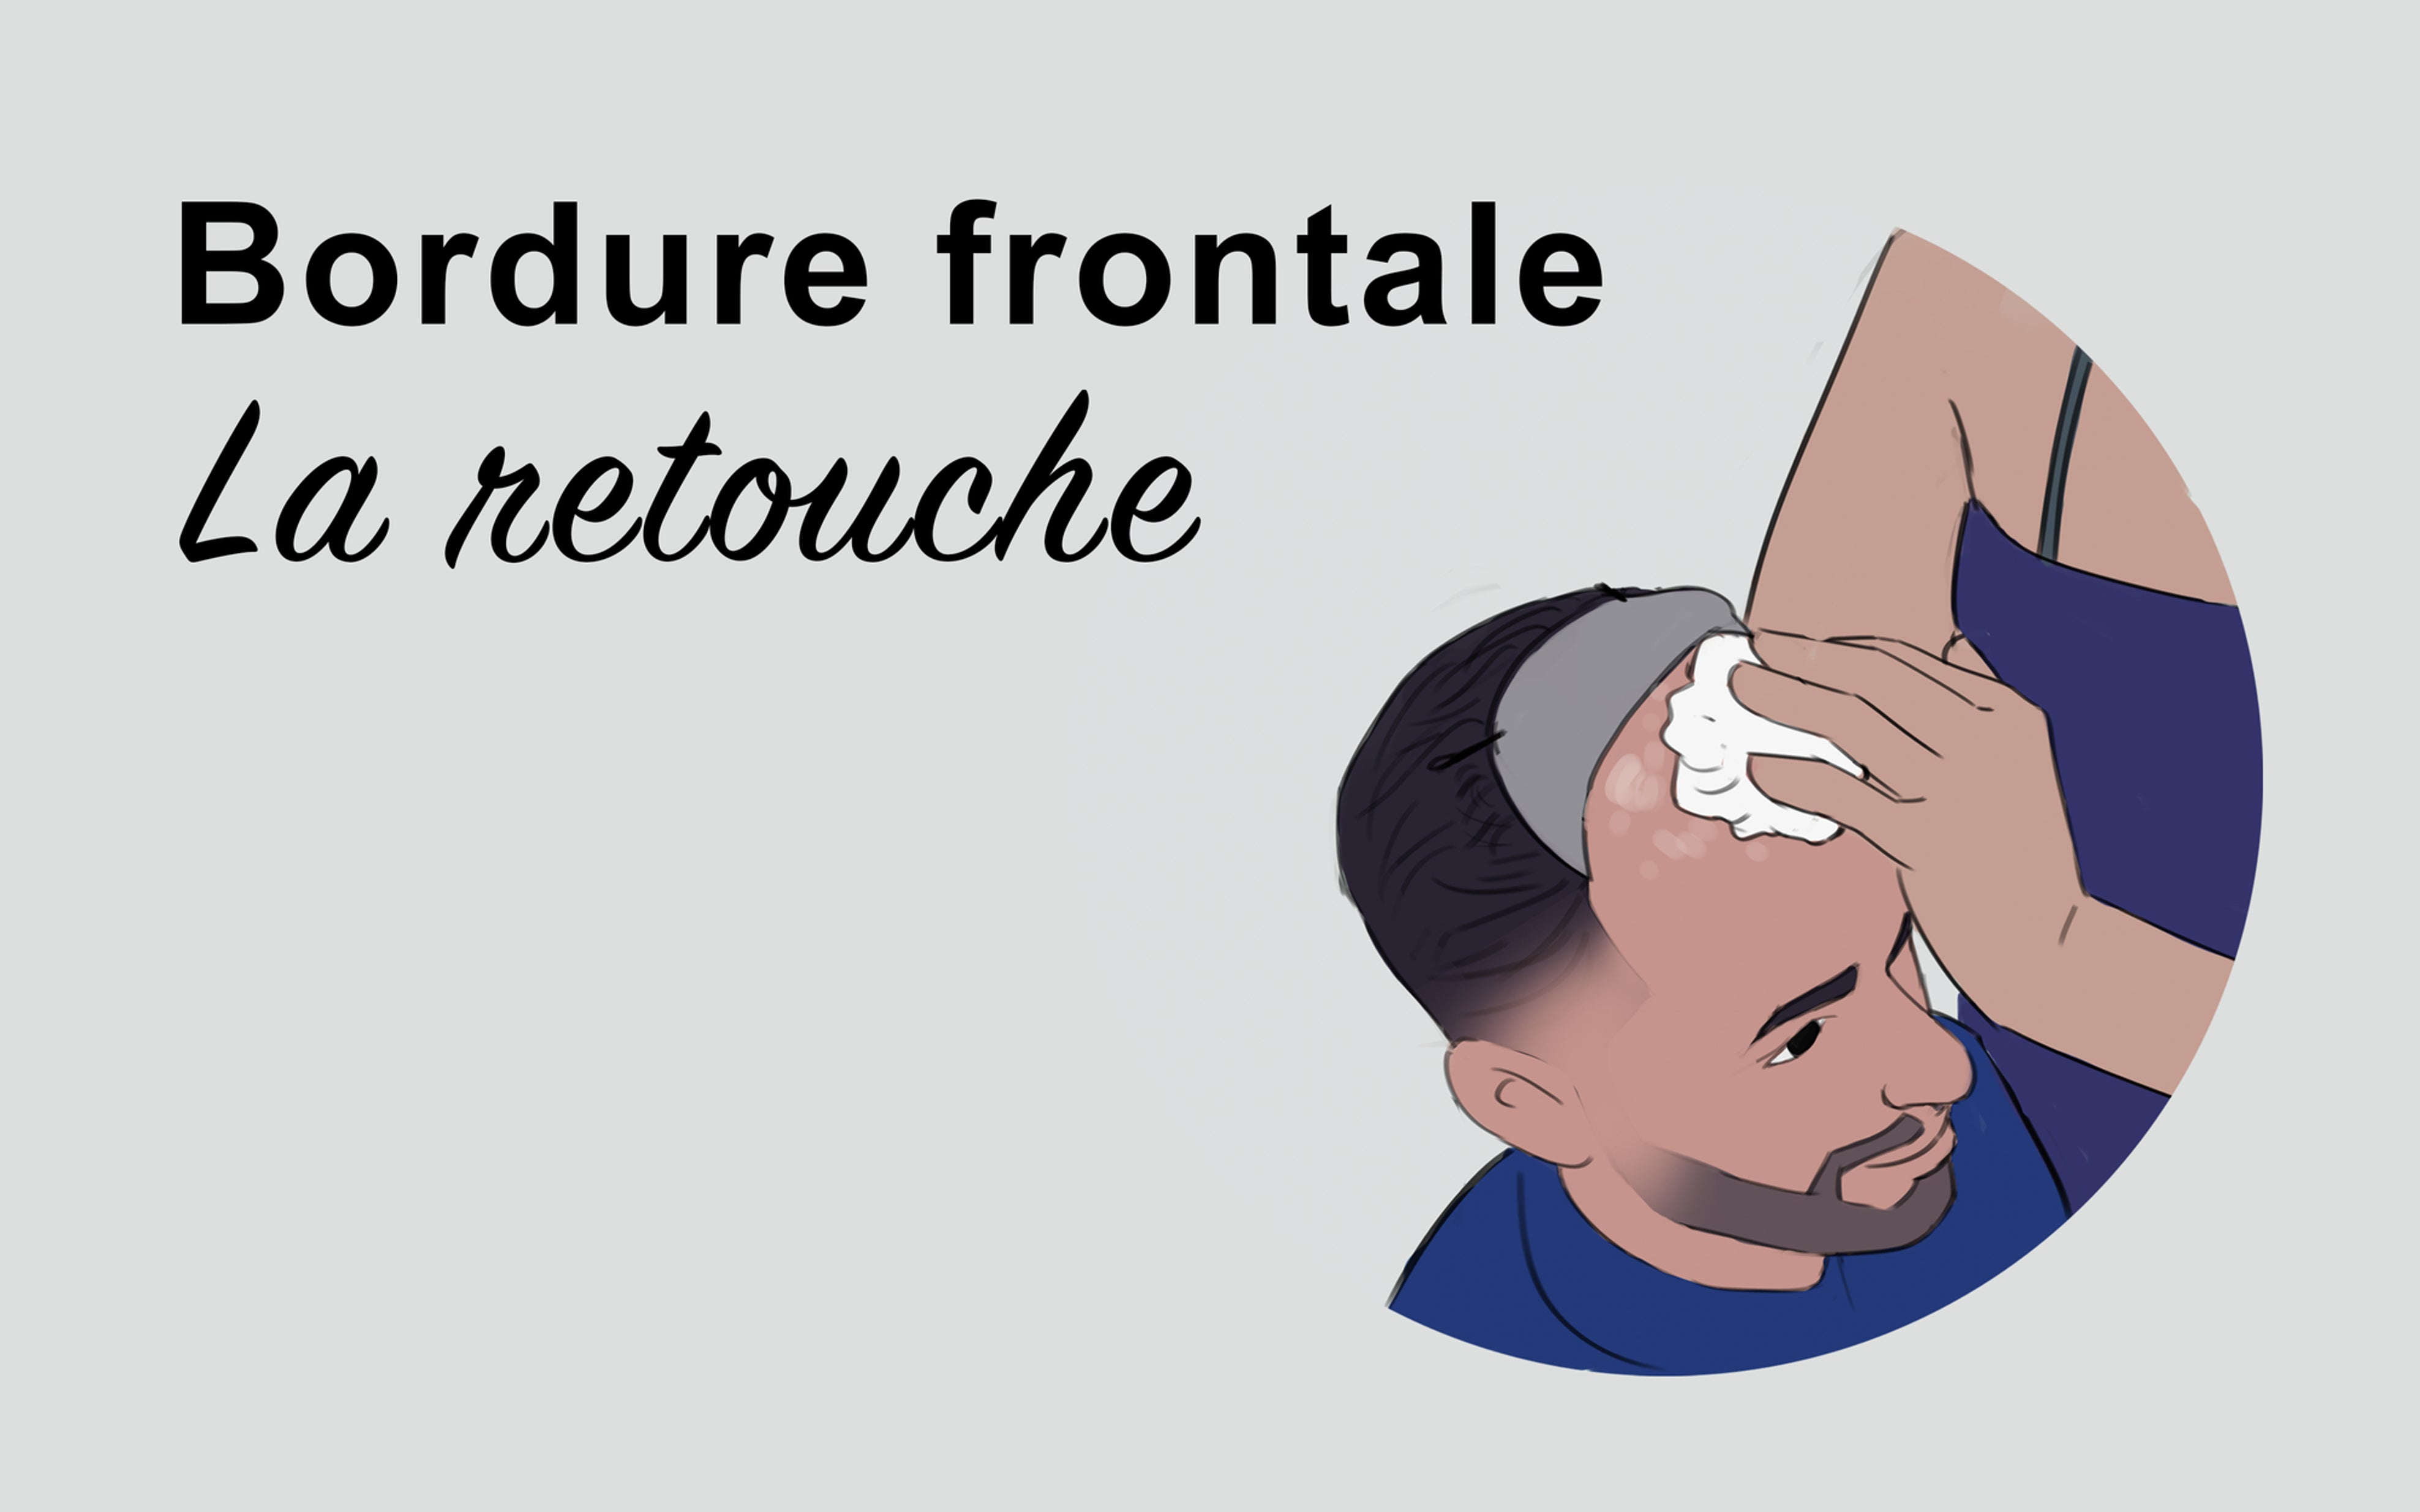
Then remove the excess hair glue by gently rubbing your skull with a clean cloth or paper towel. Avoid the use of cotton wool as it may fray and snag in hair glue residue. Be aware that you won't be shampooing for a touch-up, so don't use solvent as this will prevent the new hair resin from adhering sufficiently and you won't get the desired result.

Step 3
When the front edge is completely smooth and free of hair glue residue, moisten your skin with clean water as well as the front edge using a mist sprayer to refresh and leave your skin clean before applying the resin. capillary. It is important to make sure that your frontal border as well as your skull are completely dry before proceeding to the next step.
If necessary, use a hair dryer to speed up the drying time, but be careful not to burn yourself! Using the Max Hold Sport skin preparer before applying the hair resin allows you to prolong the fixation time of your prosthesis and to intensify the resistance to water and perspiration, so do not hesitate to apply a thin layer around the circumference of your skull.

Step 4
If you wear a Polyurethane hair complement, you can apply a layer of your usual hair glue directly on the base of your prosthesis. Be careful not to catch with the brush , some hair on your way. Let the first coat dry for a few minutes.

Do not hesitate to use the hair dryer again for faster drying. If you want, you can also add a thin layer to your scalp, being careful not to go too low on your hairline to avoid any shine in the days to come. If you wear a tulle hair topper , apply the hair resin directly to your skull and not to the base because it will penetrate the microperforations and cling to the hair. And in this case, I let you imagine the rest...

Step 5
Last step of the retouching, the repositioning of the prosthesis. First, make sure the hair resin is totally dry and transparent (for those who use white hair glue), before repositioning the hair add-on. You can then, while holding your prosthesis, detach your clamps and slide your frontal border from the back to the front, starting from the center and ending with the sides. Be aware that it is not necessary to stretch the base during application.

Apply strong pressure to the area with a towel for a few moments to allow complete adhesion.

It is true that you would like to leave these steps to a professional and this is also what we recommend, however, sometimes you may not be able to get to your prosthetist, especially if he is far away. of your locality. This is why today, you have all the cards in hand to carry out your own retouching.
Finally, be aware that the frontal retouching is not systematic, because it depends on the different skin types.
Partager:
How to avoid order errors
The advantages and disadvantages of the supplement